Running agents on Raspberry Pi 5
Sipfront provides docker images for linux/arm64, so the Sipfront agent can be started on Raspberry Pi 4 and 5 (Raspi in short) with docker enabled using the usual docker run ... command.
Important
Raspberry Pis run on SD cards, which are prone to wear & tear. If you plan to run the agents on Raspis for an extended amount of time, or if the Raspis are expected to be unplugged and replugged at any time, you risk to corrupt the SD card, or that the agents on your Raspis are not properly starting.
You are therefore highly advised to use the optimized Sipfront Raspi image as documented below.
Tip
It is highly advised to run the Sipfront agent on a Raspberry Pi 5 with 8GB RAM!
The Sipfront Raspi image
Sipfront provides an optimized image for Raspberry Pi 5 8GB variant. This image is based on the official Raspberry Pi OS image, and is optimized for:
- easily configuring the Sipfront agent pool during flashing of the SD cards without logging into the Raspi
- automatically starting the Sipfront agent on boot using the latest Sipfront agent docker image
- running the system on a read-only file system to prevent SD card corruption
Flashing the Sipfront Raspi image to an SD card
Download the image
You can find the latest Sipfront Raspi image here.
wget https://cdn.sipfront.com/sipfront-agent-rpi5-latest.img
Flash the image
We highly advise to use Balena Etcher to flash the image to your SD card. It is available for Windows, MacOS and Linux.
Tip
The Sipfront Raspi image is about 4.2GB in size, so make sure to use an SD card with 8GB of space.
It does not have to be any larger, because nothing (except for a daily timeserver state file update) will be written to the SD card. Everything else is volatile, will be written to a RAM disk and will be reset on reboot.
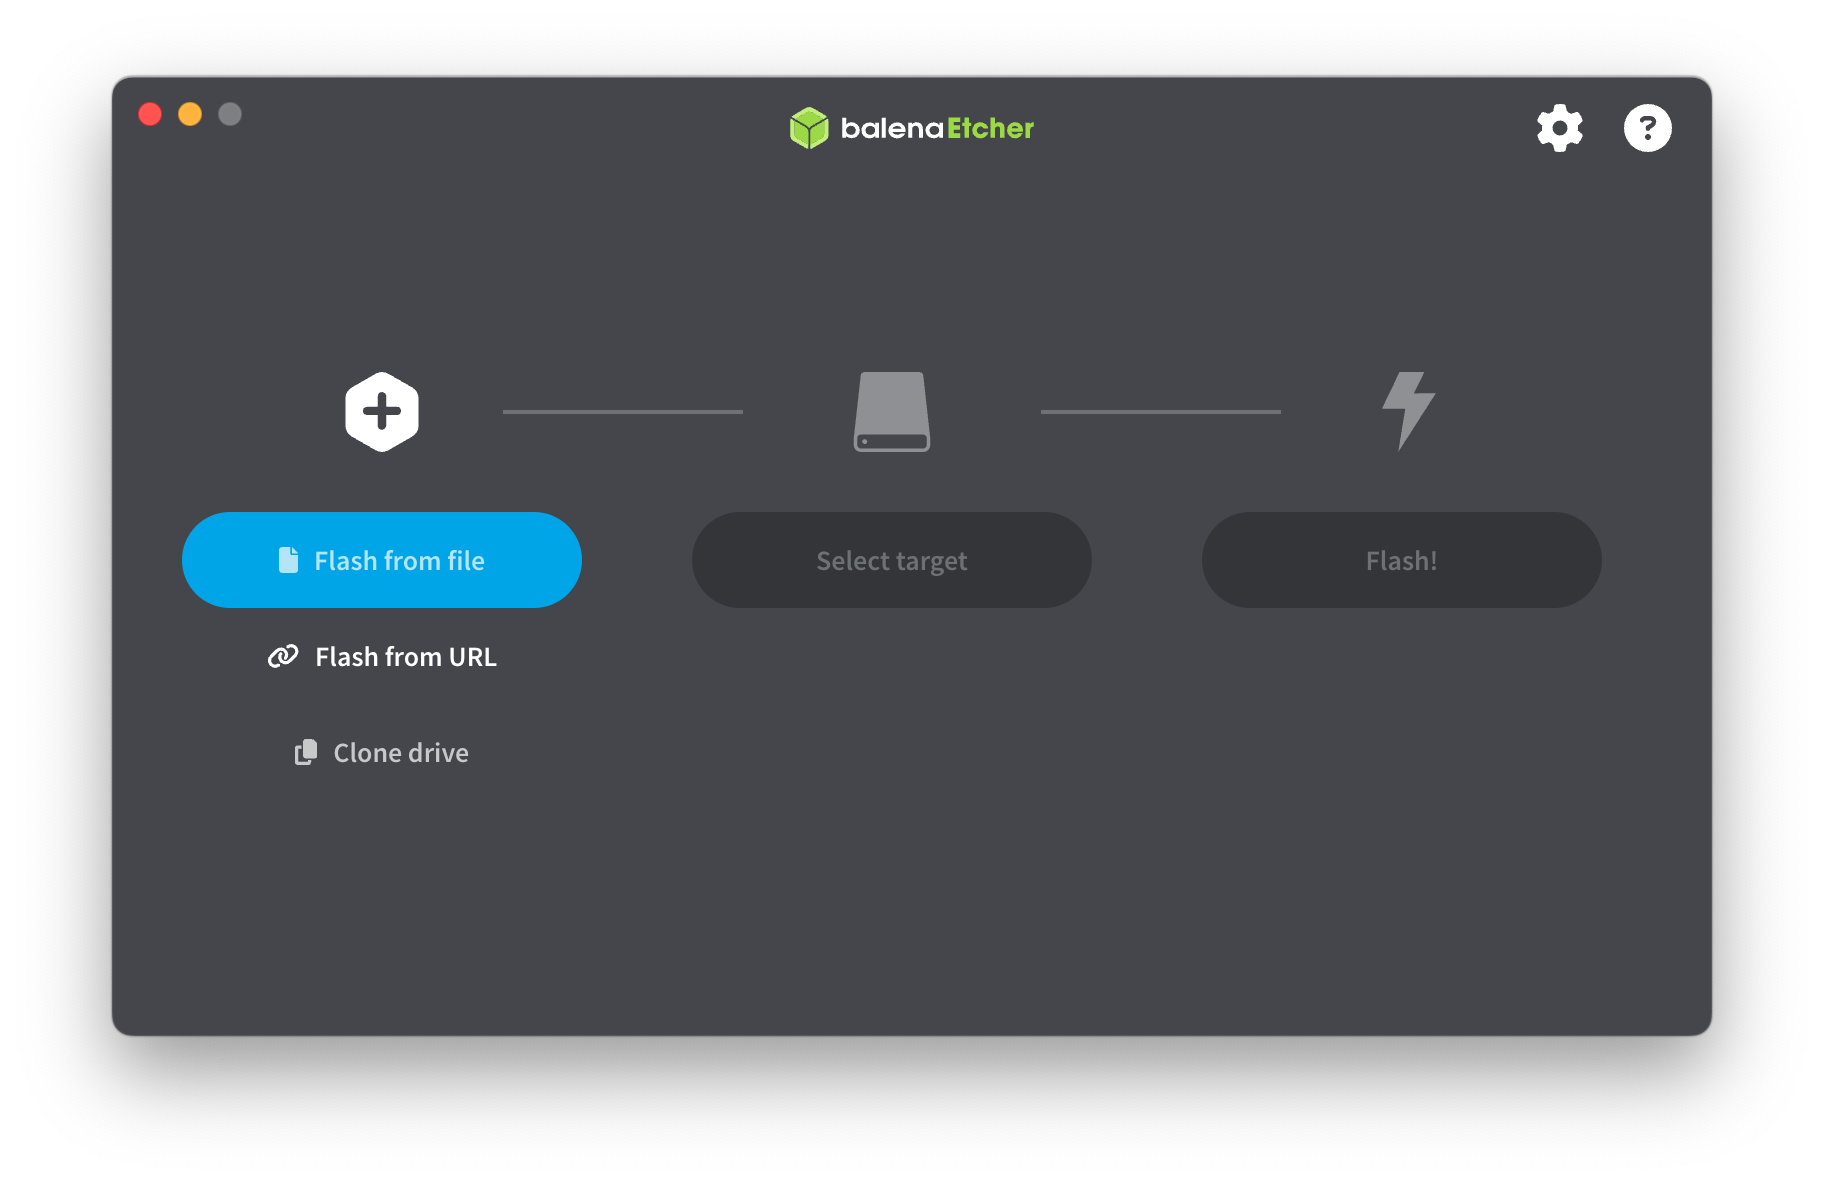
Select the image from file.
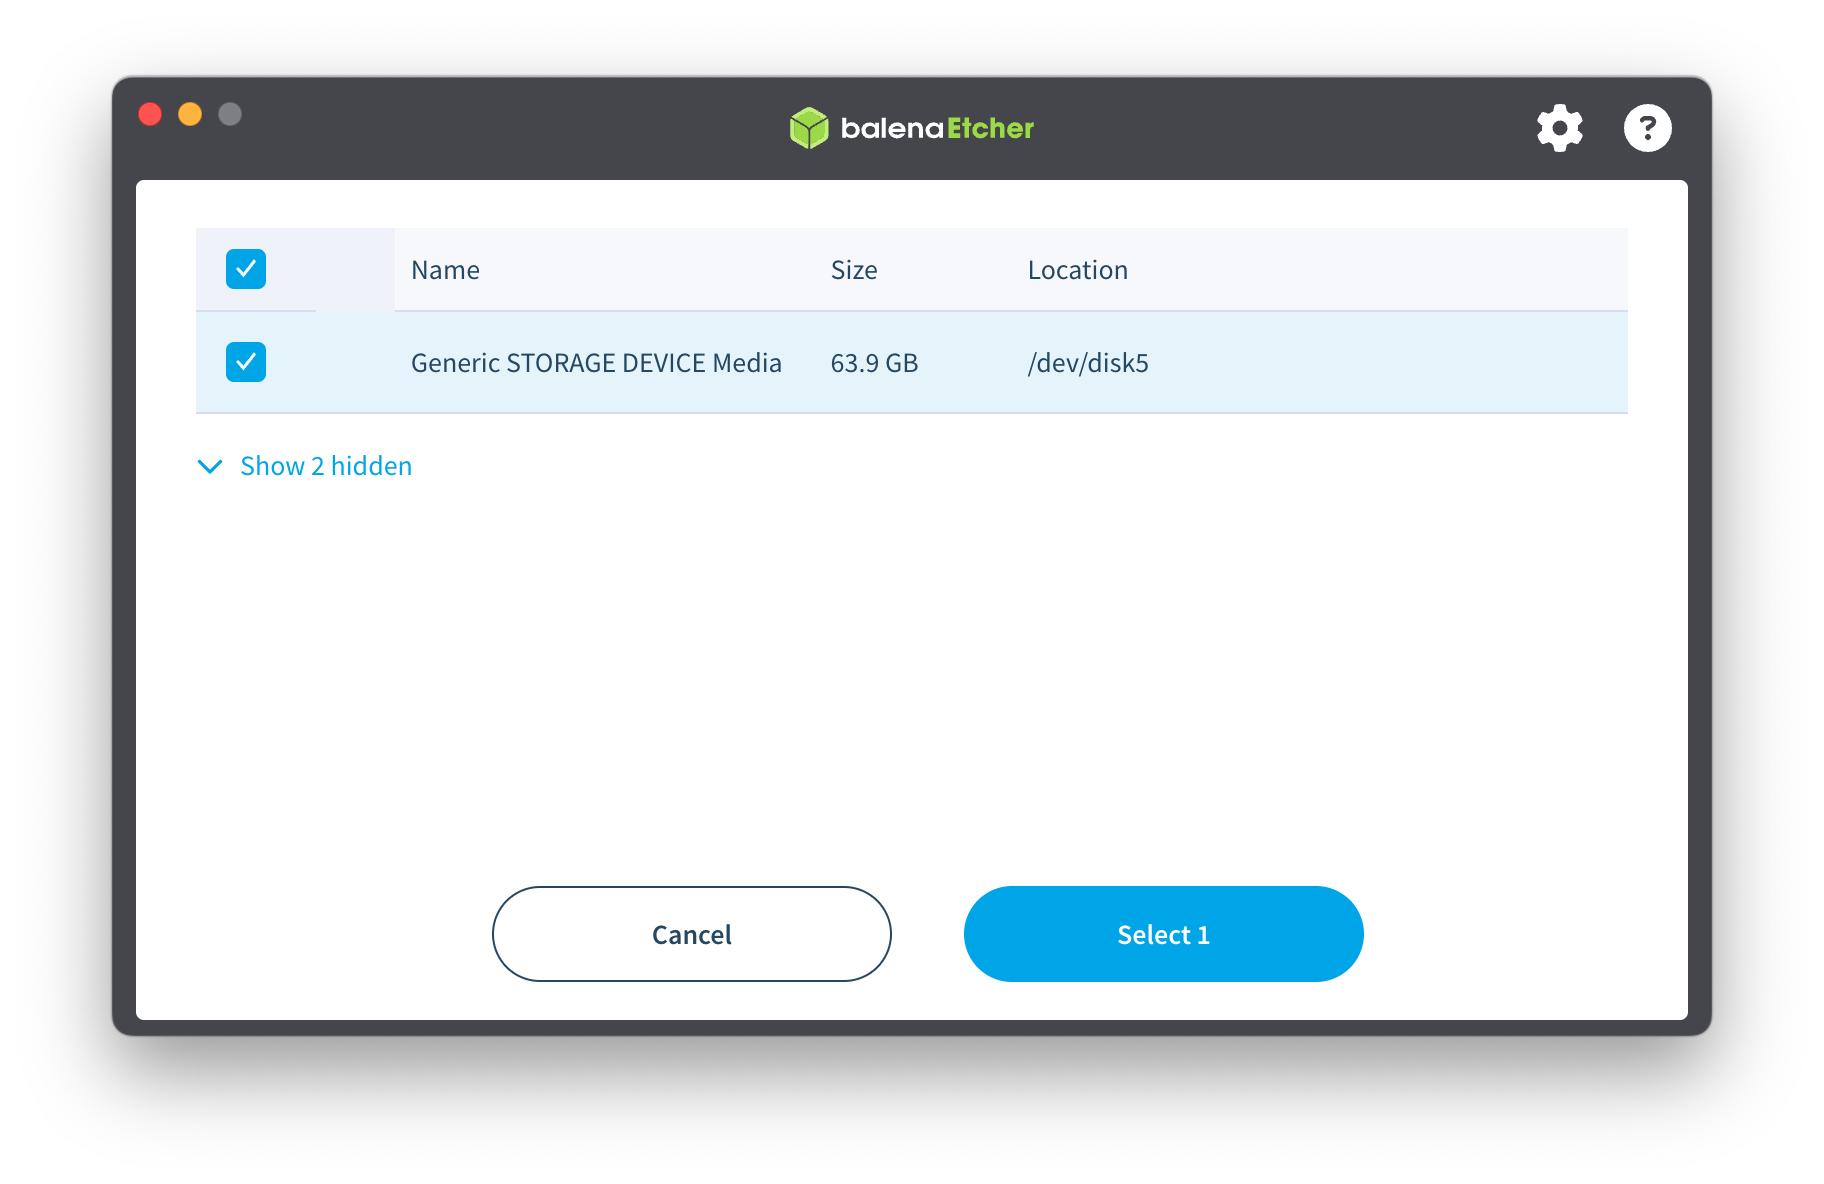
Select target SD card

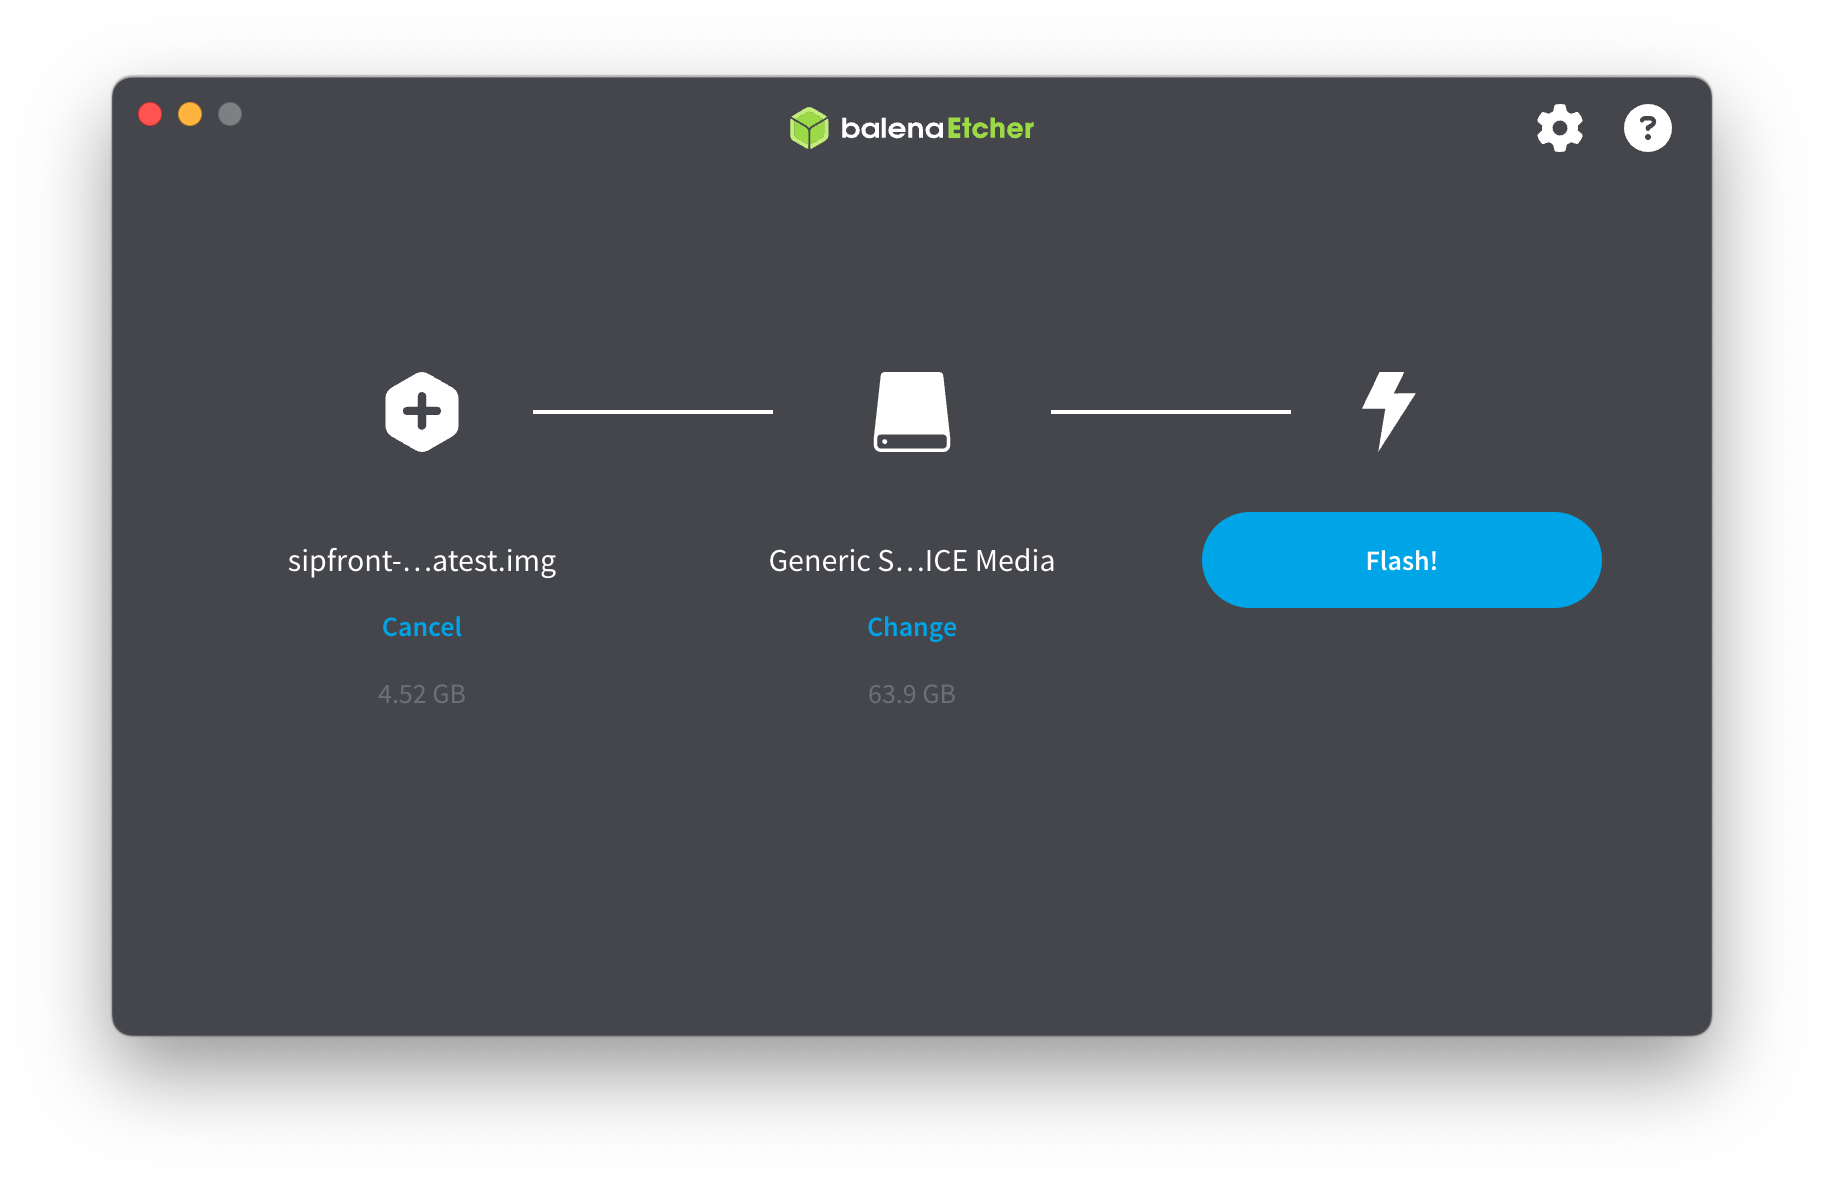
Flash image to SD card
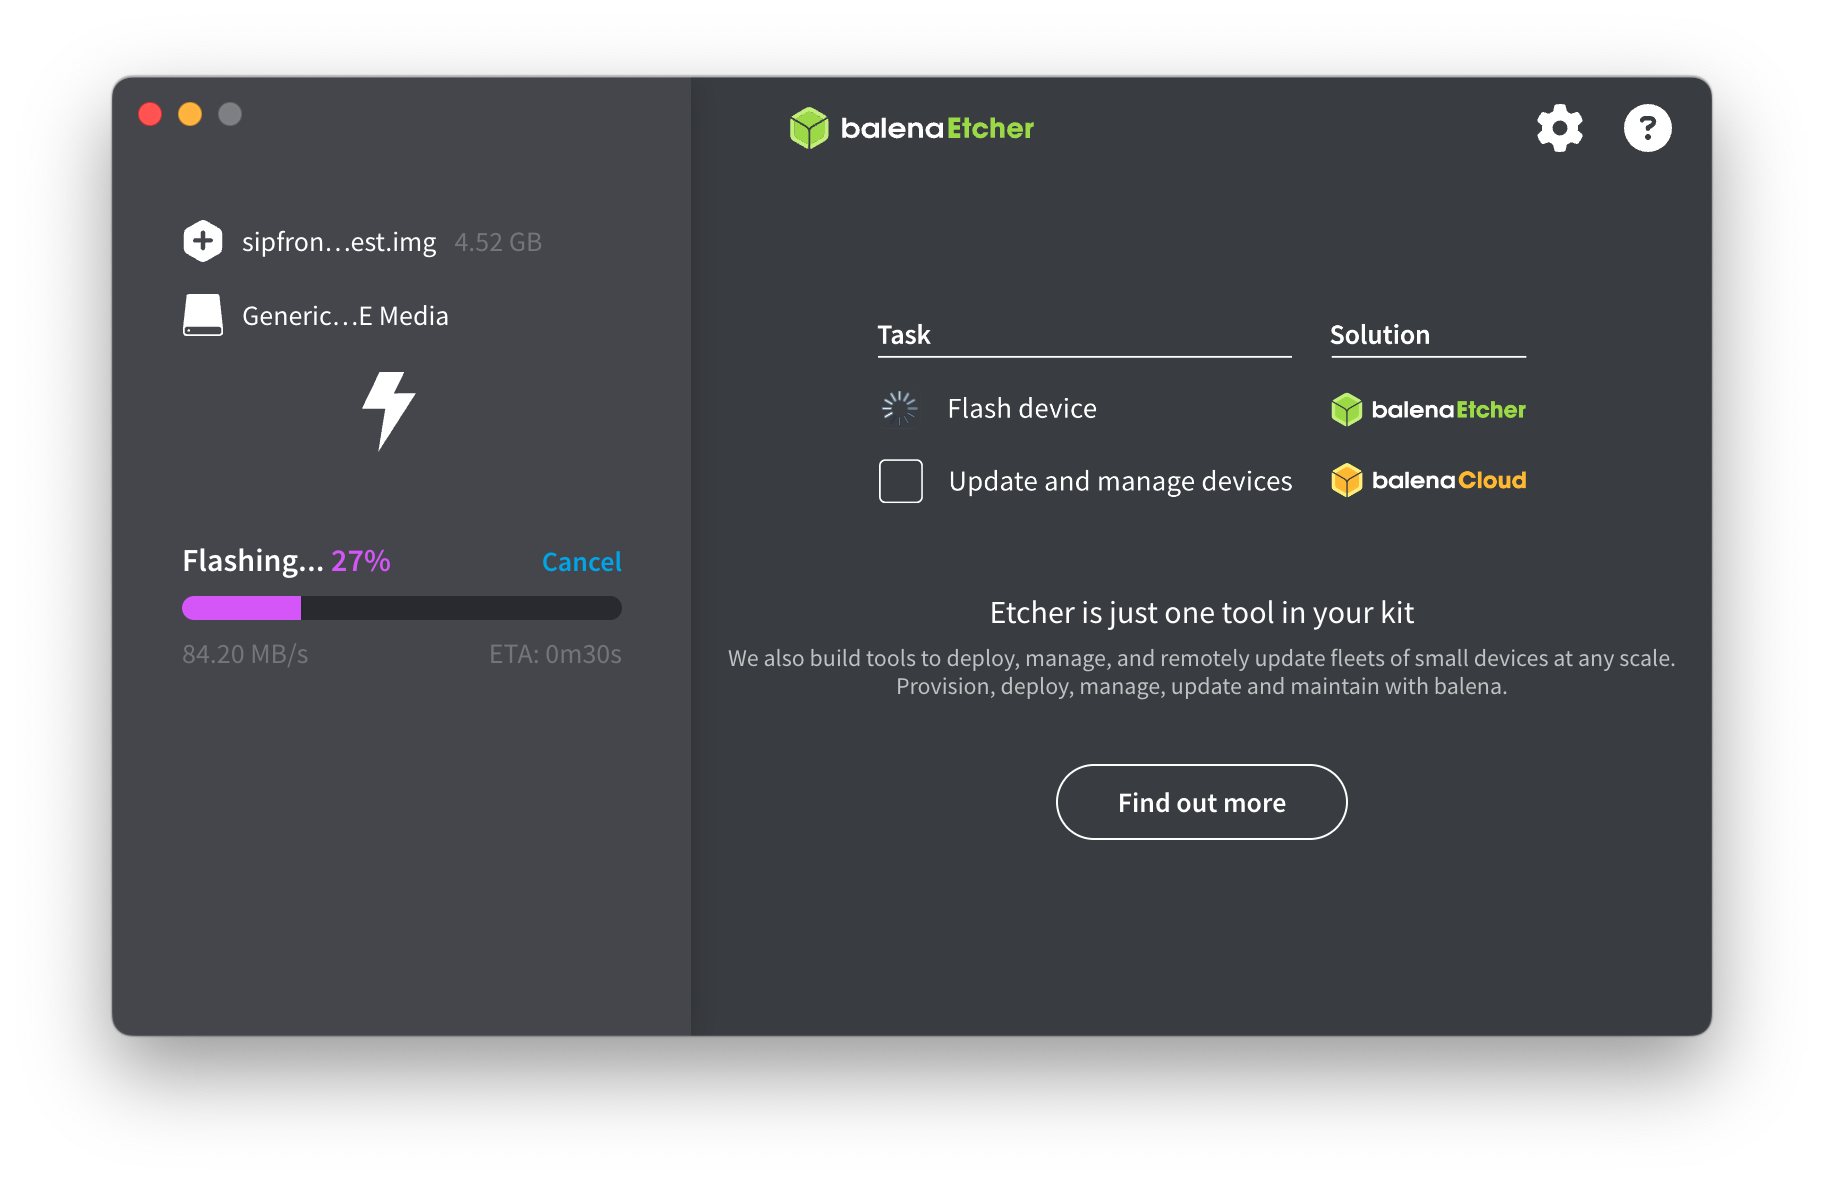
Wait for the flashing and verification to finish, then proceed to the configuration step.
Configure the agent pool on the SD card
Once the flashing is completed, you can configure the agent pool on the SD card without logging into the Raspi.
Locate the sipfront.txt config file
Check if the SD card is mounted. On MacOS, it will be mounted automatically, on Windows or Linux you might need to re-seat the SD card into the reader of your computer where you just flashed the card. The bootfs Volume will be mounted, where you can find the agent config file sipfront.txt
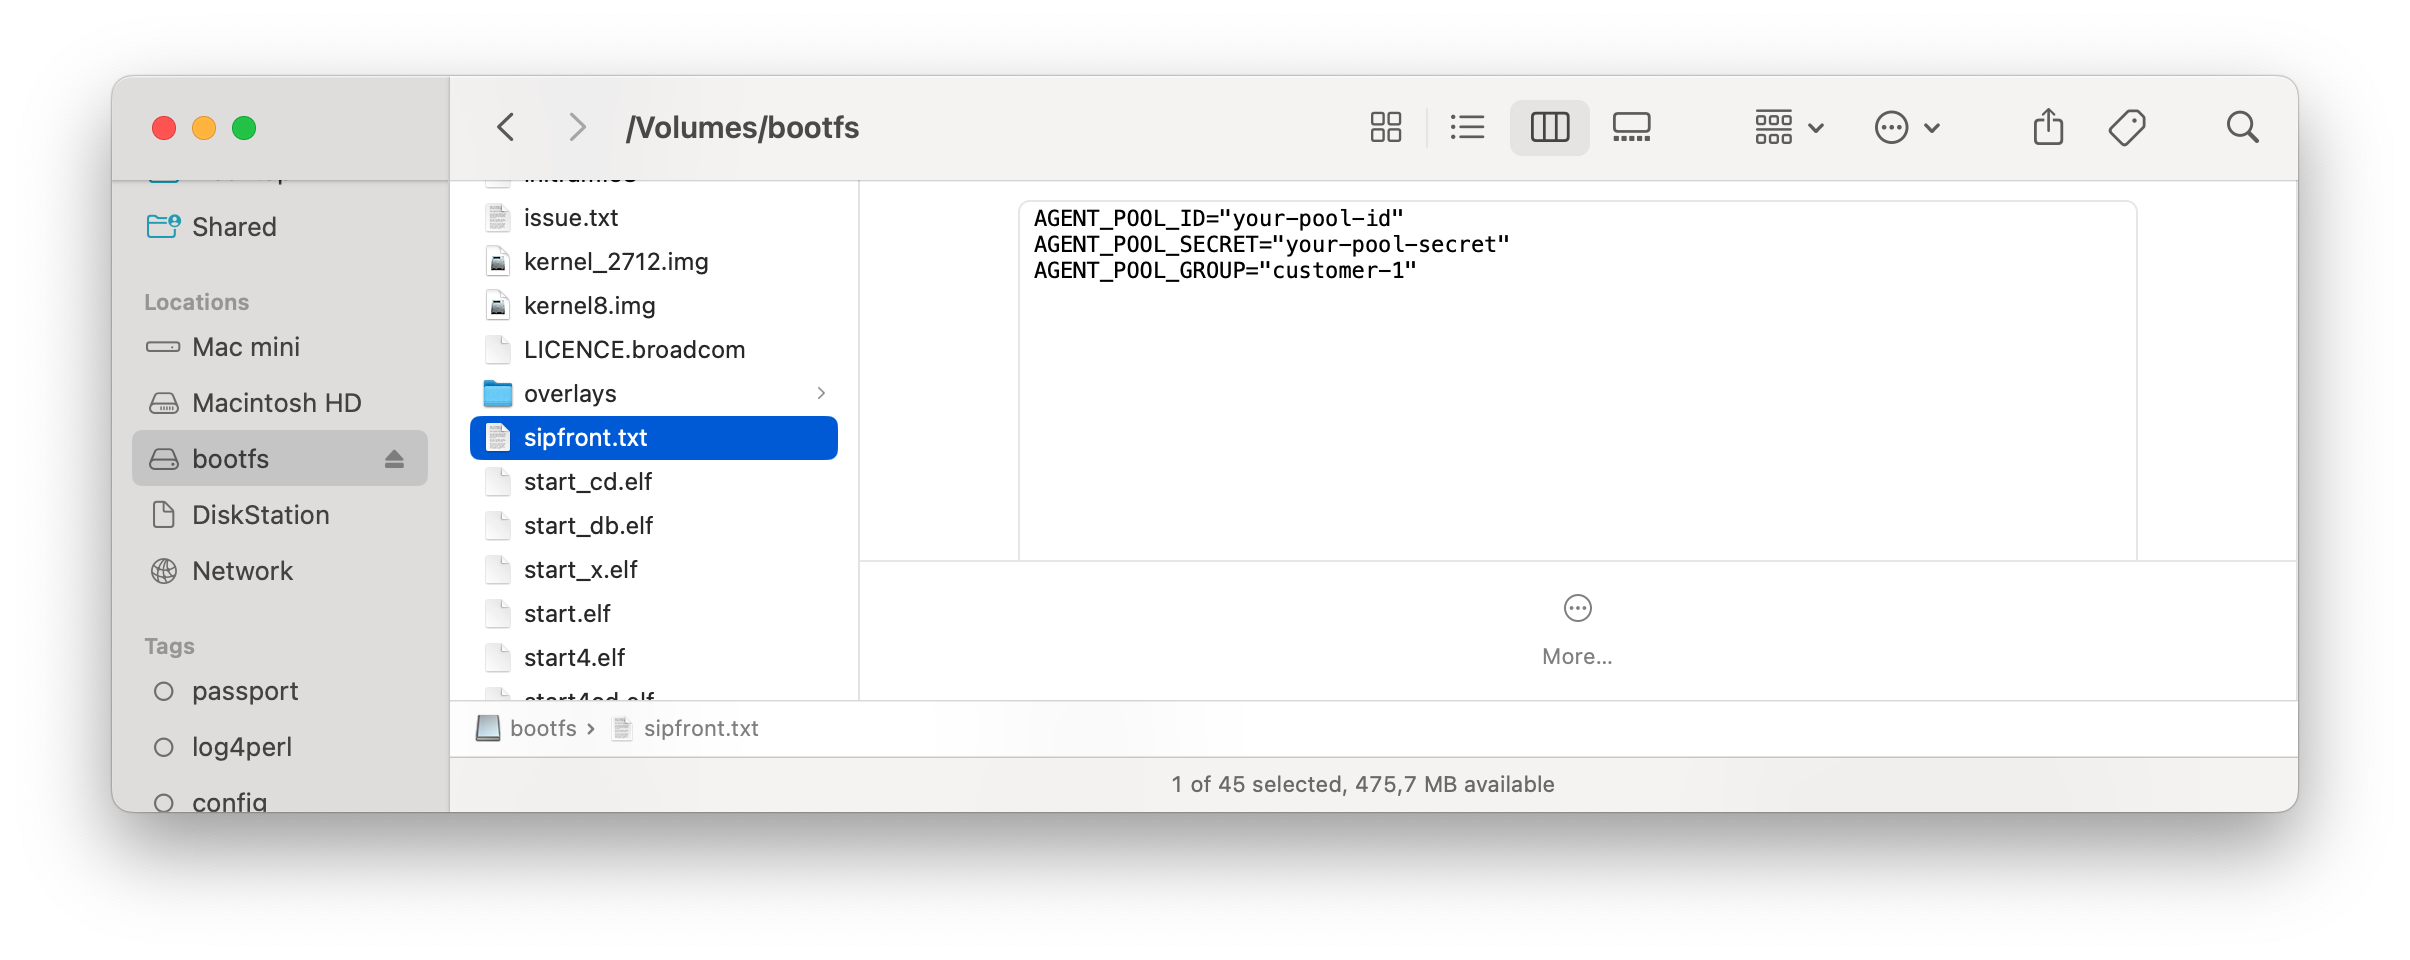
Edit the config file
Open the sipfront.txt file in a text editor and configure the agent pool using the information from your Agentpool Section, e.g.:
# the device will be accessible in your LAN via $AGENT_HOSTNAME.local
AGENT_HOSTNAME="sipfront-agent"

# fill in your Sipfront agent credentials
AGENT_POOL_ID="your-pool-id"
AGENT_POOL_SECRET="your-pool-secret"
AGENT_POOL_GROUP="raspi"

# fill in your WiFi credentials to enable wifi, otherwise keep empty
AGENT_WIFI_SSID="your-wifi-ssid"
AGENT_WIFI_PASSWORD="your-wifi-pass"

# set to no to disable mobile phone testing via bluetooth
AGENT_PHONE_DRIVER="no"
The AGENT_POOL_GROUP can be named individually, e.g. the name of the location you put the Raspi in, or the customer name where the Raspi is being placed.
Save the file and eject the SD card
Run the Raspi
-
Insert the SD card into the Raspi, connect the Raspi to power and network, and wait for the Raspi to boot up. It will take a couple of minutes for the agent to boot, pull the
sipfront/agent:latestimage and run it. Once it's up, it will show up as pool group in the Agentpool Section. This process is completely automated, so you don't have to do any manual steps. You could re-pack the Raspi with the inserted SD card and ship it to your customer, asking to plug it into their network. -
If you really need to log in, you can SSH into the device with the user
sipfrontand the default passwordSipfront!. Once logged in, switch the Raspi to read/write-mode by issuing the commandrw, then change the password via the commandpasswd. Switch back to readonly-mode using the commandro. -
You can use
sudo -sto switch to root at any time.
Advanced configuration
You can set some advanced options in sipfront.txt to tune the agent behavior. The following options are available:
AGENT_START_PORT: The ports allocated for SIP, RTP and other services. SIP/UDP and SIP/TCP will bind toAGENT_START_PORT, SIP/TLS toAGENT_START_PORT + 1, while RTP will useAGENT_START_PORT + 9and upwards. The default is port 10000.AGENT_SKIP_IP_DISCOVERY: Set toyesto skip detecting the public ip address behind NAT, making the agent use its local ip address for SIP and RTP. This might be useful if the system under test is doing proper far-end NAT traversal, which might break if the agent advertises its public ip in the Contact/Via/SDP. The default is "no".AGENT_POOL_COUNT: The number of agents to start on the Raspi. This is useful if you want to run multiple agents on the same device, e.g. for testing internal calls within your PBX. Make sure you use a Raspi with enough RAM (8GB highly recommended) when running more than one agent. The first agent will start allocating ports atAGENT_START_PORT(see above), each further agent will start with an offset of 1000 ports from the previous agent. Thus, three agents will use 10000-10999, 11000-11999 and 12000-12999. The default is 1 agent.AGENT_POOL_IMAGE: The docker image to use. This is useful if you want to run a different agent image than the default one. The default issipfront/agent:latest. Usually only used on request by Sipfront support.AGENT_PROXY: The URL of an http(s) proxy (e.g. a Squid instance) to be used to tunnel all control traffic through (pulling thesipfront/agentdocker image from dockerhub, connecting to the Sipfront backend and downloading configs and uploading artifacts in the AWS cloud). This can be helpful on strictly firewalled environments, where setting a proxy only requires you to open the proxy's ip in the firewall rules. The default is empty, so no proxy is used. Example usage isAGENT_PROXY="http://myproxy.com:80".