Create your first test
This guide will walk you through setting up a basic call, based on the test scenario "Media Analysis for Audio Call"
Create and Set Up Project
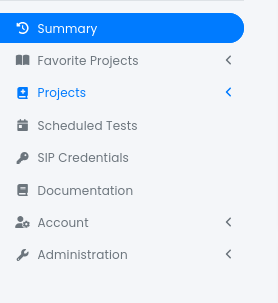
On the side panel, switch to Projects (highlighted in blue), then go to the very last entry 'Create' Project
The next step is to enter a name and description for your test project. Then press Save.

You now provide a name and description for your project to create it.

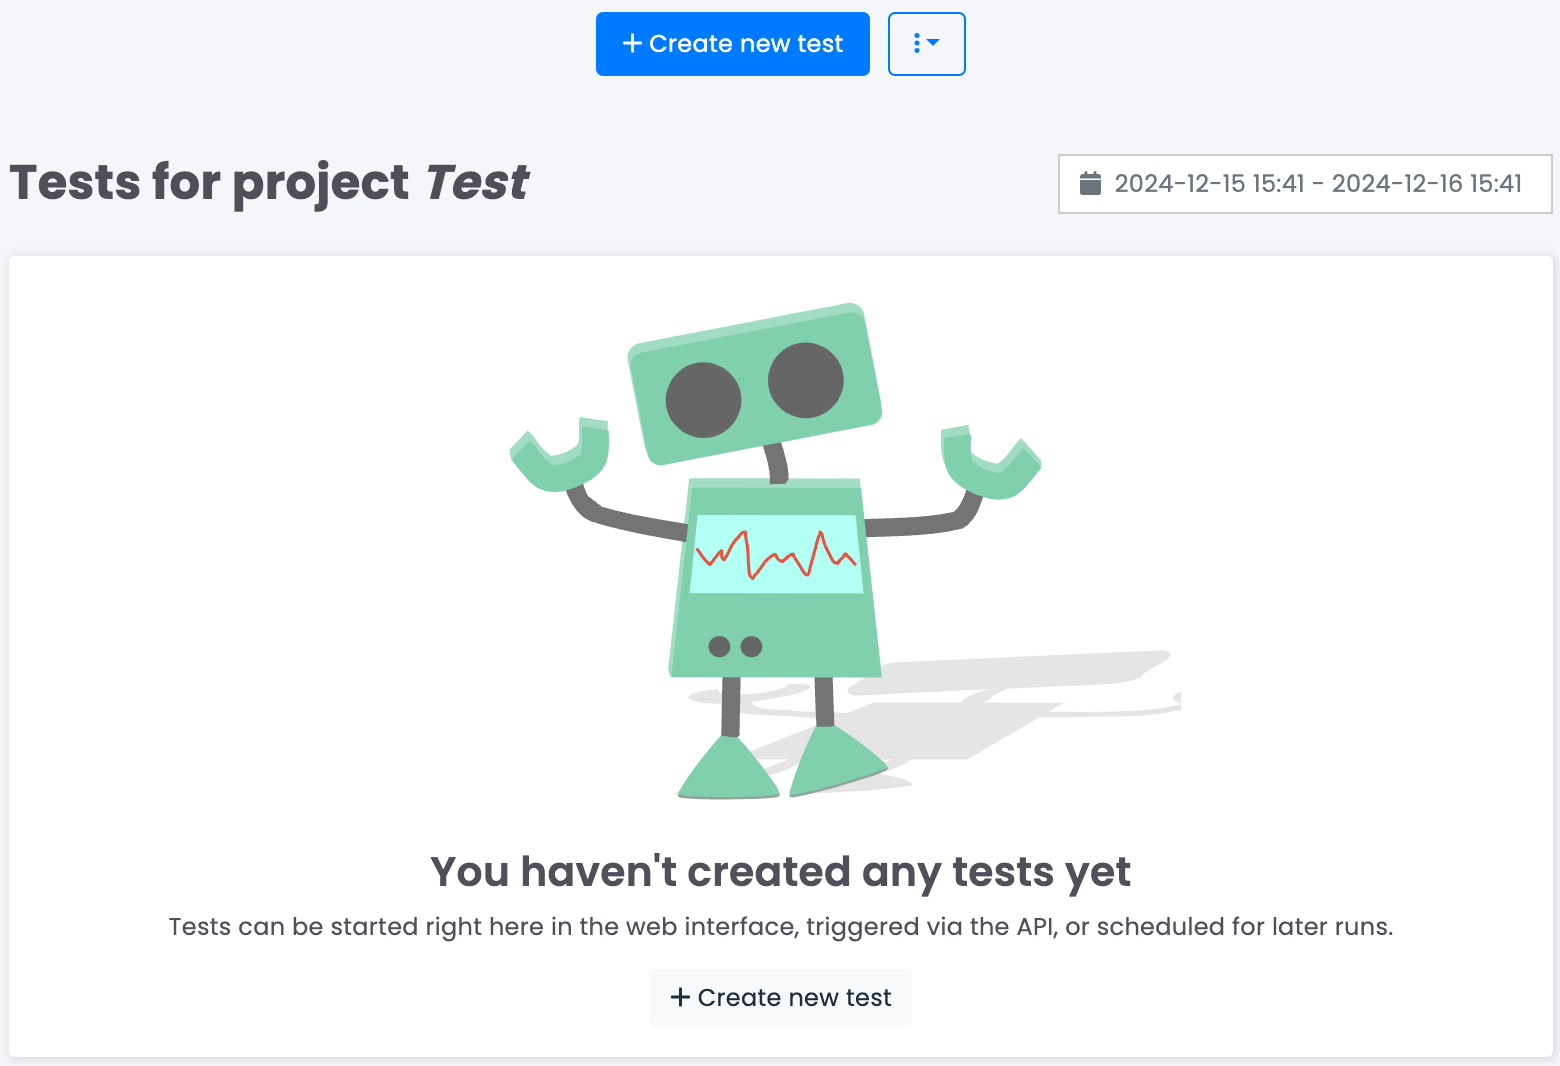
Now that you have created your first project we now move on to create our first test.
Define Test Information
Once you have clicked on the 'Create New Test' button, you will first need to enter a Test Name (required) and an optional Description.

Chose Test Scenario
For the purposes of this guide, we will select the Media Analysis for Audio Call scenario.

Provide Tags (optional)
If you like, you can also add optional tags to your tests, which will make it a bit easier to search for them later on.

Chose agent pool
After defining the test name and scenario, we need to select an agent pool. This can be one of the Sipfront agent pools or one of your own.

Chose Target System
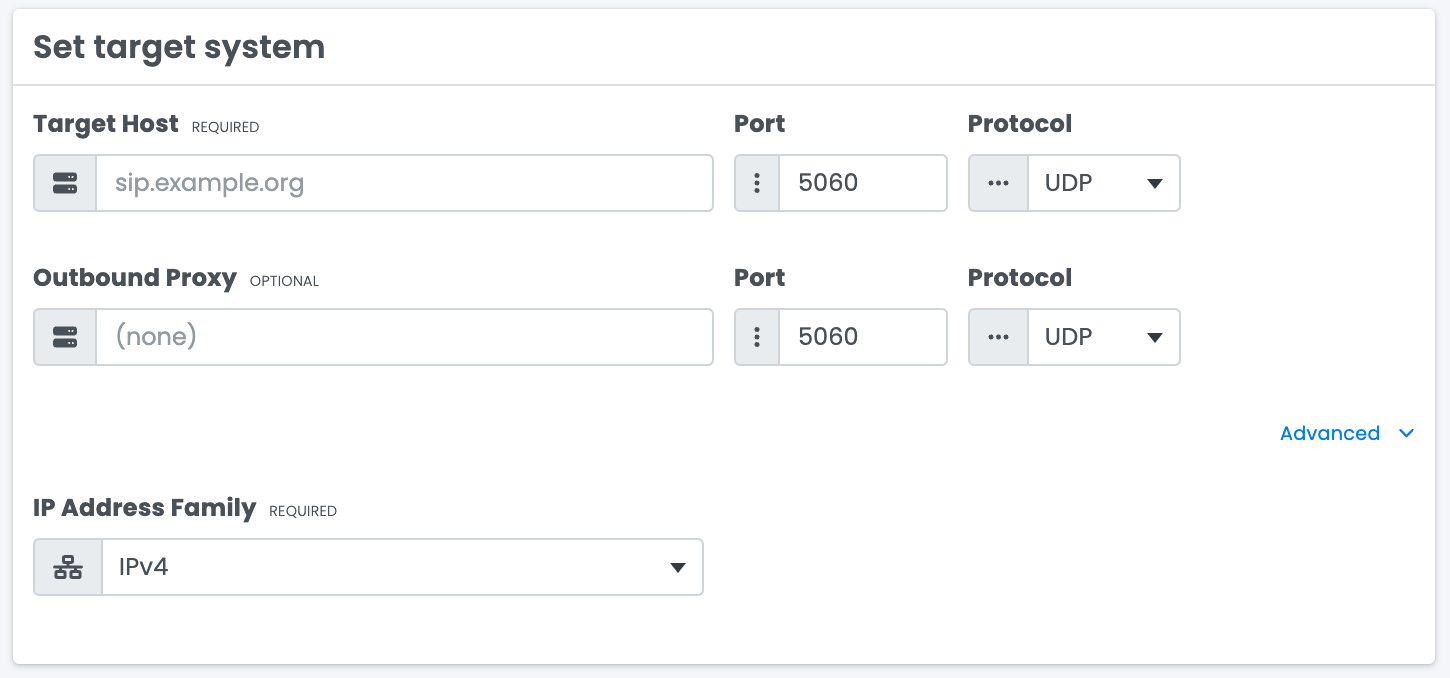
Again, this step is self-explanatory. Before we can run a test, we need to specify the target system or host. There are a few options to choose from, i.e. the port and protocol of the target system, which are required. The outbound proxy is optional and has the same parameters to choose from as the target host. As you can see, there is also a drop down menu called Advanced (bottom right corner) where you can access the advanced settings and set the IP address family. For now, we have chosen the default settings
Configuration Callee Side
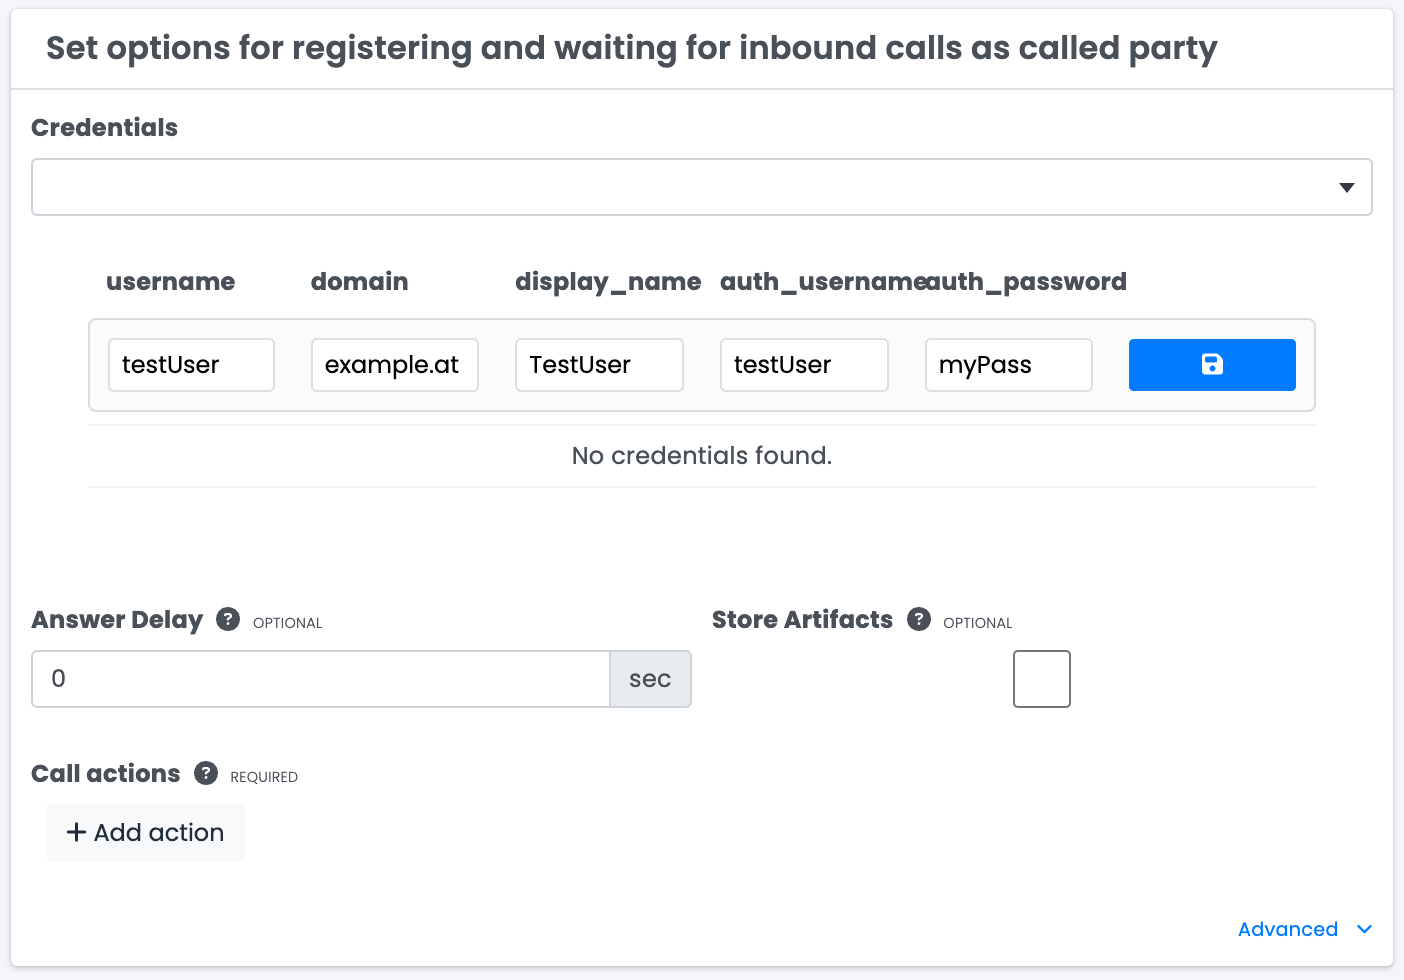
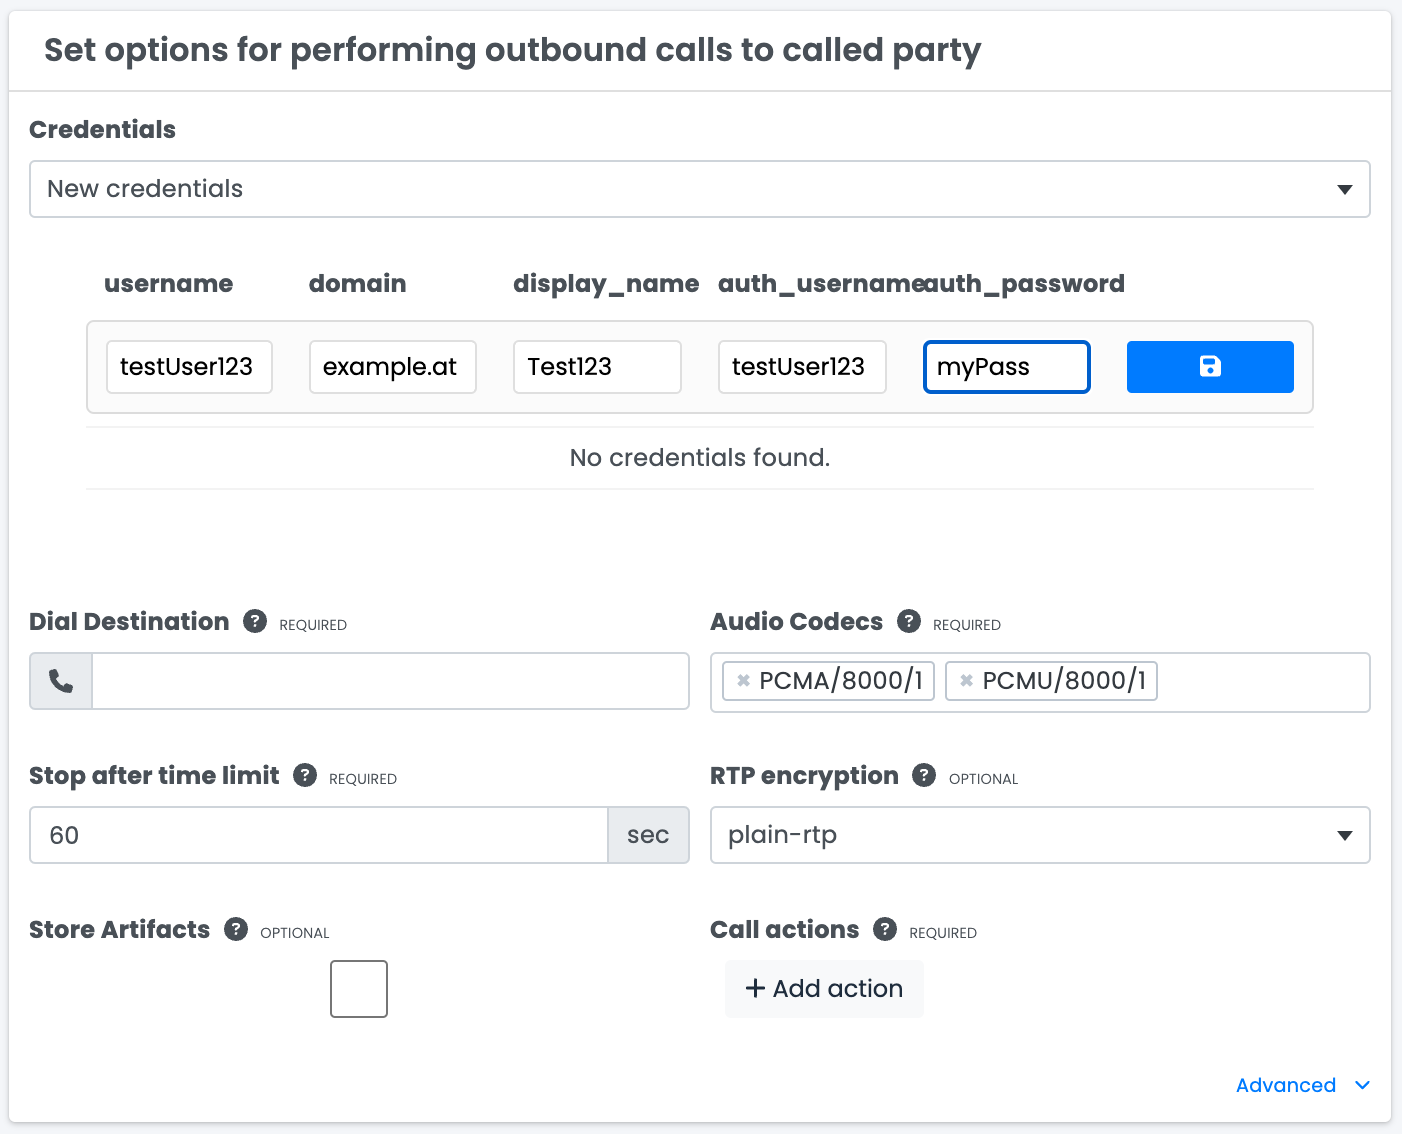
The next step is to configure the called party for the test. Typically, each party is part of an agent group. For now this option is set to default. Next we have the possibility to set options to perform a pre-call web request, but we will leave it for now. The next panel has quite a lot of options. All the parameters you see have a small question mark next to them with a short description of what they do. For this guide, the most important ones right now are
- The Credentials section,
- The dial destination, where you enter the number for the calling party,
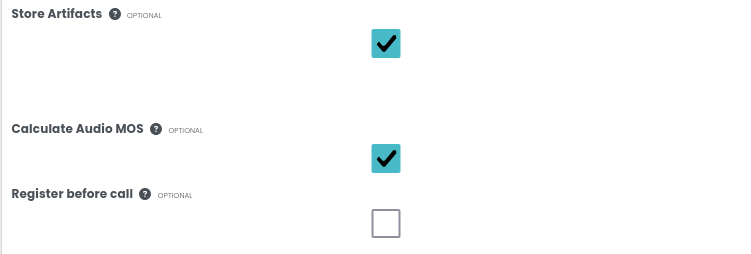
- The Store Artifacts, Calculate MOS and Transcribe Call Recording options. Without Store Artifacts, it would not be possible to calculate the MOS of the audio and get a transcription of the voice content of the audio file.
Important
In case you want to Calculate MOS, you have to tick both 'Calculate MOS' boxes on the caller and callee side. Otherwise no MOS will be calculated.

Configuration Caller Side
As in the last section, we also need to configure the calling party. For the dial destination you would have to specify the number of the called party. Otherwise, everything remains the same
Set Webhook (optional)
You can also set a webhook to receive notifications for example to a Slack channel if a test fails. Simply enter the URL of the channel in the Callback URL field and click 'On Failure Only'.

Optional Parameters and Save
Finally, you can set test conditions. For example, if you want to make sure that the MOS is above a certain threshold or that a certain phrase is part of the audio transcription. In this example, the MOS should be above 4 for both the calling and the called party, and the transcriptions of the audio files should be very similar to the phrase "hello my friend".
